- The Frugal Girl’s Guide to Hosting a Great Galentine’s Day Gettogether
Valentine’s Day might be over, but the celebration of love doesn’t have to end on February 15th. I believe that Valentine’s Day isn’t only about romantic love. It’s the perfect time for celebrating friendships as well!
Celebrating friendships its exactly what Galentine’s Day is all about. Nothing is better than getting together with your best girlfriends and spending quality time together! This post will be your ultimate guide to hosting a great Galentine’s Day gettogether that will be easy on your pockets!
Tip 1: Schedule Strategically
This first tip is the most important for budget babes. To maximize your budget, host your Galentine’s Day gettogether AFTER Valentine’s Day. That way, on 2/15 you can raid the stores for all the markdown candy and décor! This simple strategy will keep you from competing with other shoppers for the same items, and paying a premium. Also, it will ensure that even your girlfriends who are spoken for can get in on the fun because there’s no scheduling conflicts with their plans!
Tip 2: Make it Activity-Centric
You chill with your girlfriends all the time, so be sure to make this hangout special. Takeout and Netflix are not Galentine’s Day approved! Use this time to get creative, have new experiences and make memories with your friends. Here’s a list of some of the activities you might plan your gettogether around for little to no cost!
- DIY Floral Arrangements
- Baking Night- might I suggest Red Velvet Cookie Sandwiches? Read to the end of the post for the recipe!
- Cocktail Making
- Paint and Sip
- Makeup Class
- Arm Knitting Blankets
- Karaoke Night/ Dance Battle/ Talent Show
- Vision Boarding
- Board/Card Game Tournament
- DIY Beauty Bar (body scrubs, butters, oils)
Tip 3: Have a Light Menu
Galentine’s Day doesn’t call for a buffet of food. There’s no need to spend hours in the kitchen for this gettogether. In fact, snacks and finger foods will suffice! You can have the gettogether potluck or “pitch-in” style, where everyone contributes a small amount to the purchase of food. Either way, you’ll save time and money!
Speaking of menus…
Applying these three tips will ensure that your Galentine’s gettogether creates memories that will last a lifetime for a reasonable price! How do you celebrate Galentine’s Day? Let me know below!
Sociably,

- How To: Grocery Store Flowers to Valentine’s Day Arrangement
Flowers and chocolates are timeless Valentine’s Day gifts, but if anyone is abusing your budget, its the flower companies. An average small Valentine’s Day arrangement is $50, and that’s before delivery. For part two of my Valentine’s series, I wanted to help you stay within your budget when gifting flowers.
In this next installment, I am going to teach you how to make your own arrangements for a fraction of the price using flowers you can find at your local grocery store! Your Valentine will swoon over the effort you put in, and it will be all the more special because of it. Let’s begin!
Step 1- Choosing the Right Flowers
When you go into your local supermarket this time of year, there’s a plethora of options to choose from. But I definitely advise against grabbing the first bouquet you see and gifting it as is. That’s just tacky. Take the time to select the type and/or color flowers your significant other prefers. A little thoughtfulness will go a long way!
To assemble a full, unique arrangement, you’ll need to buy more than one type of flower. Start with a focal flower. These are usually large blooms and the more popular flowers like roses, tulips, or sunflowers. One to two bouquets of those will suffice.
For my arrangement, I chose beautiful pastel roses as the focal flower.
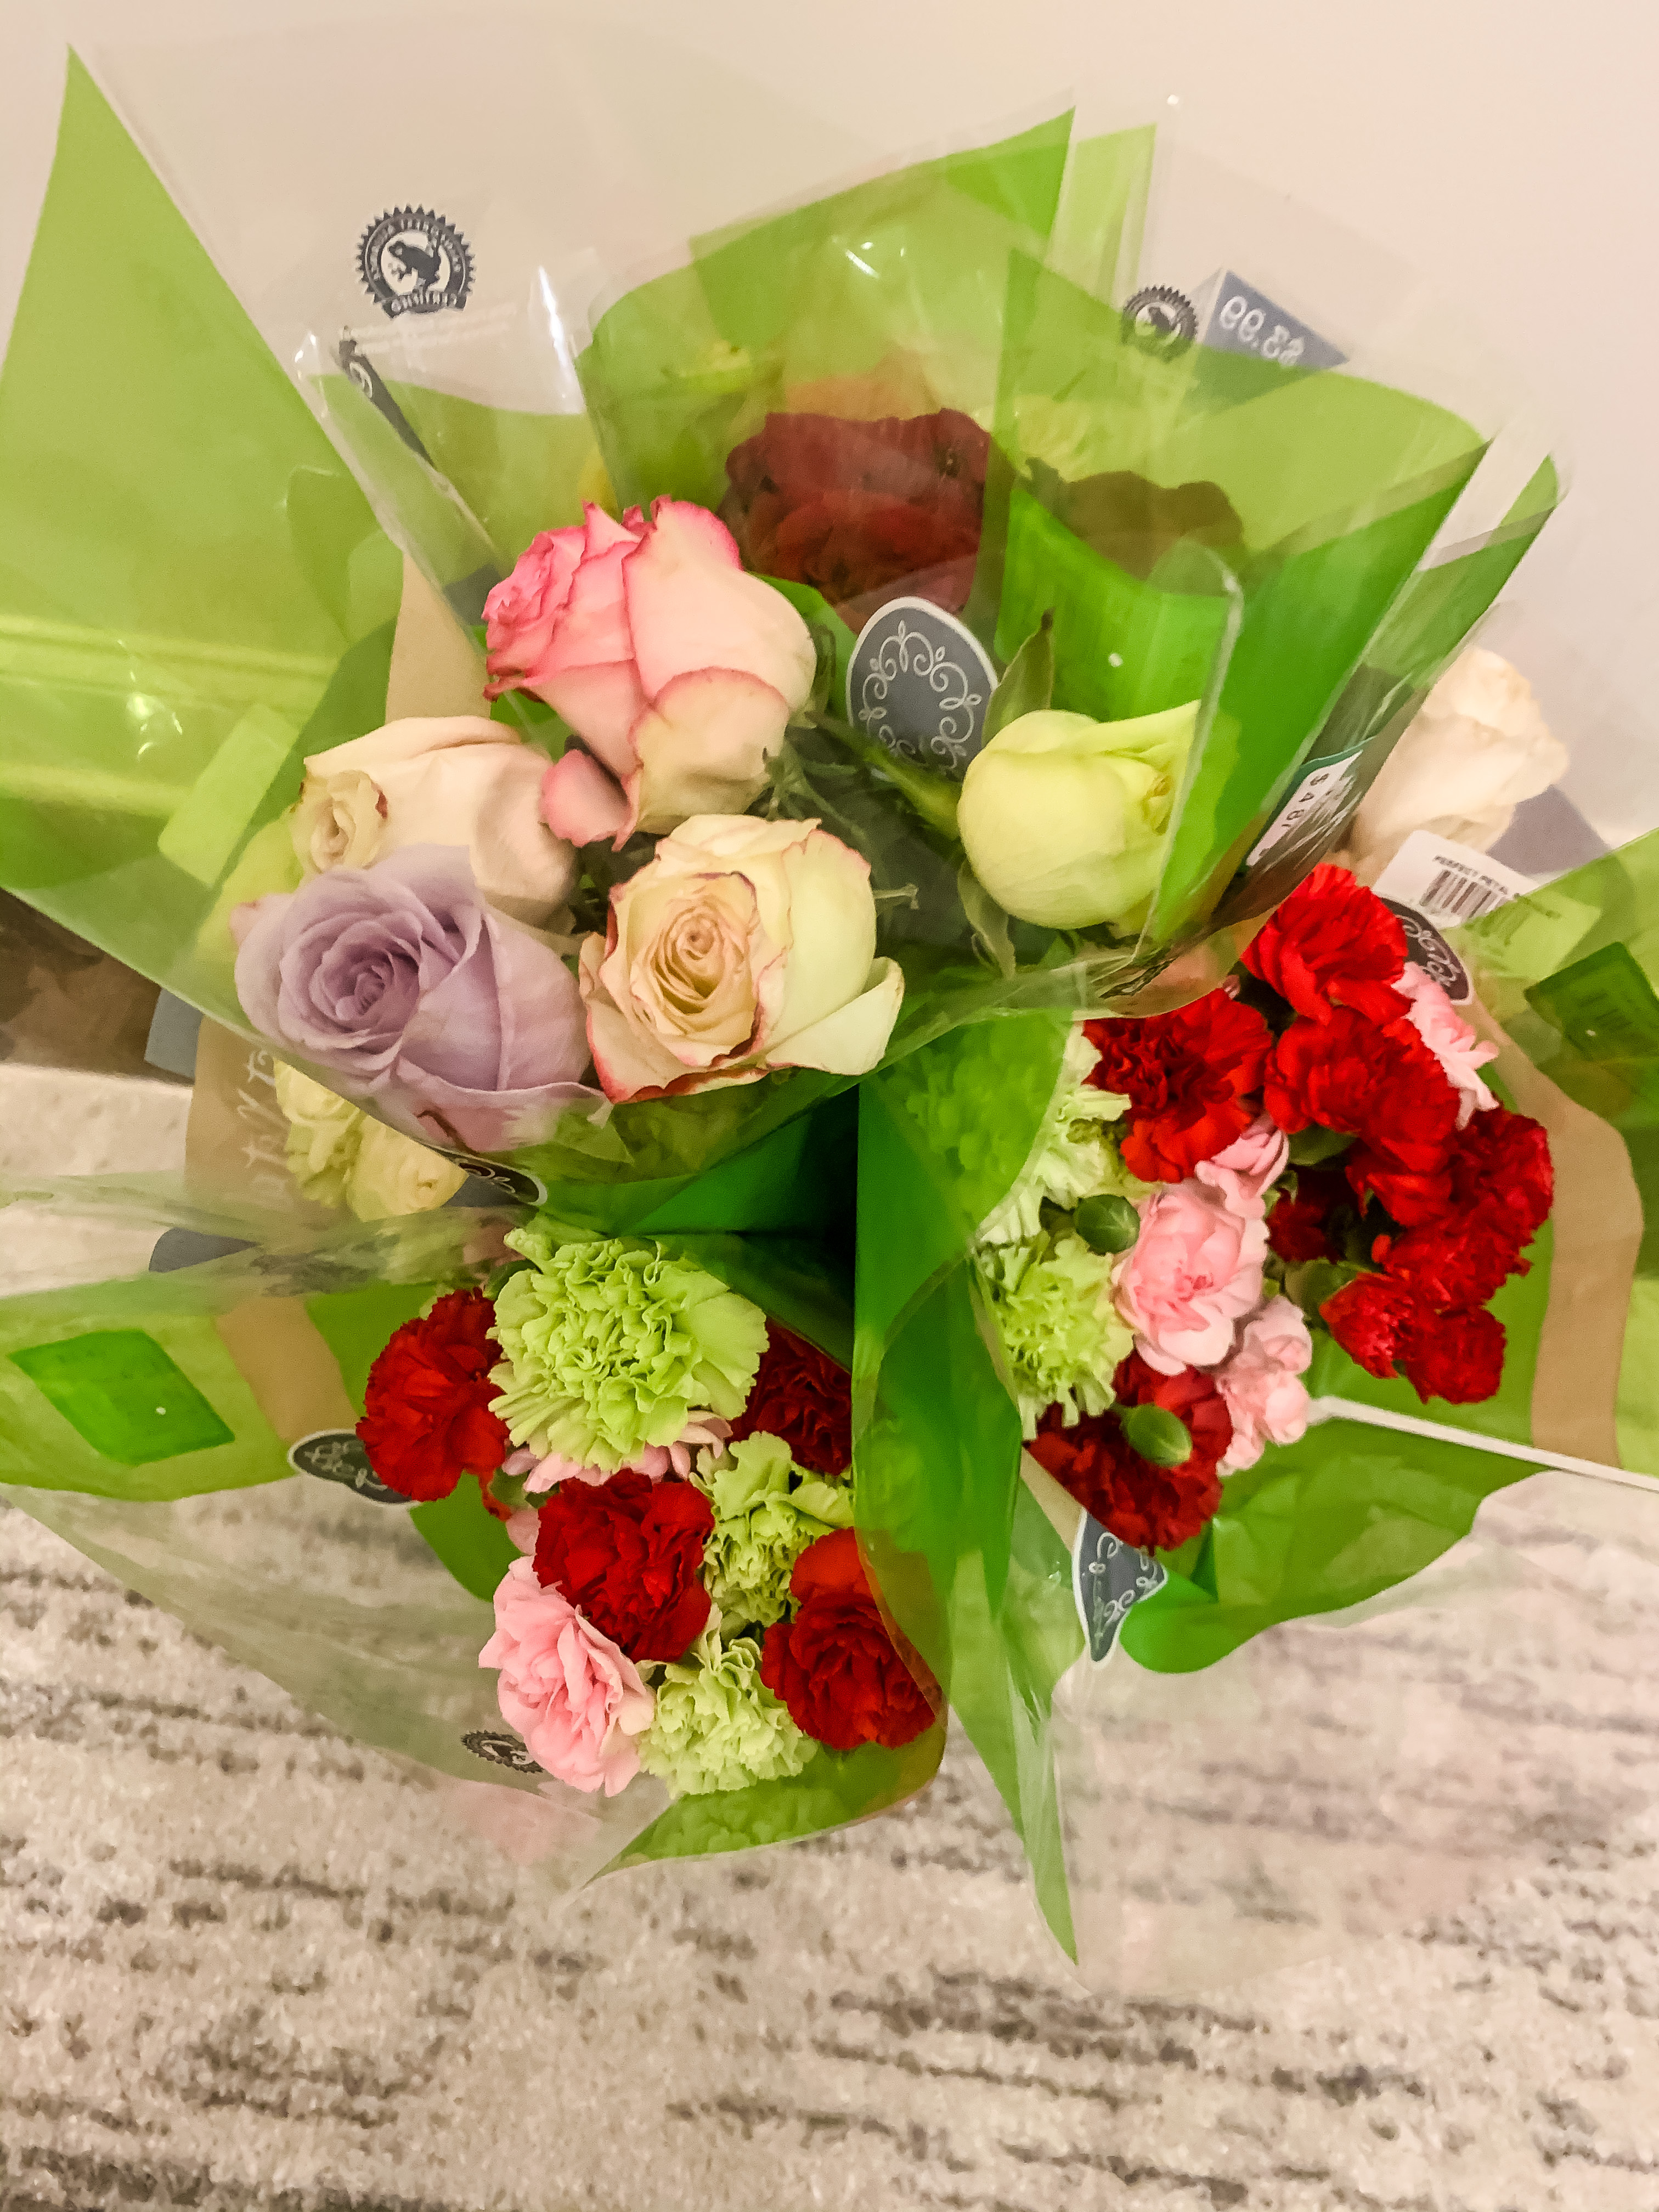
Next you’ll need filler flowers. Florals like posies and carnations, and greenery like ivy will do the trick. These will go in-between the larger flowers to add pops of color and contrast to the arrangement. These flowers and greenery are usually cheaper so that’s a win! I chose carnations.

Step 2- Choosing an Appropriate Vessel
Sure, you can always gift a bouquet for Valentine’s Day, but I recommend going the extra mile to place the flowers in a pretty vase! This will save your Valentine some trouble, and makes gifting flowers complete. The “vessel” doesn’t have to be anything extravagant- in fact, Dollar Tree sells lovely vases that are perfect for beginner friendly arrangements. But if you’d like to go the fancier route, check your local TJMaxx or Marshall’s for more decorative (but still cost effective) options. For this arrangement, I used a vase I already had at home.
Step 3- Mapping the Arrangement
Now for the fun part! Mapping a floral arrangement may seem intimidating at first, but this is where you unleash all your creativity. A good rule of thumb is to place all your focal flowers where you’d like them, then fill in with filler flowers. Be sure to remove the leaves and cut the stems to the height of your vase first!
Also remember to step back and look at your arrangement as you’re working, and turn your vase all the way around! You want your Valentine to enjoy their flowers at every angle.
Here’s the final look for my arrangement! The total cost (without the vase) was less than $15. Talk about bougie on a budget!
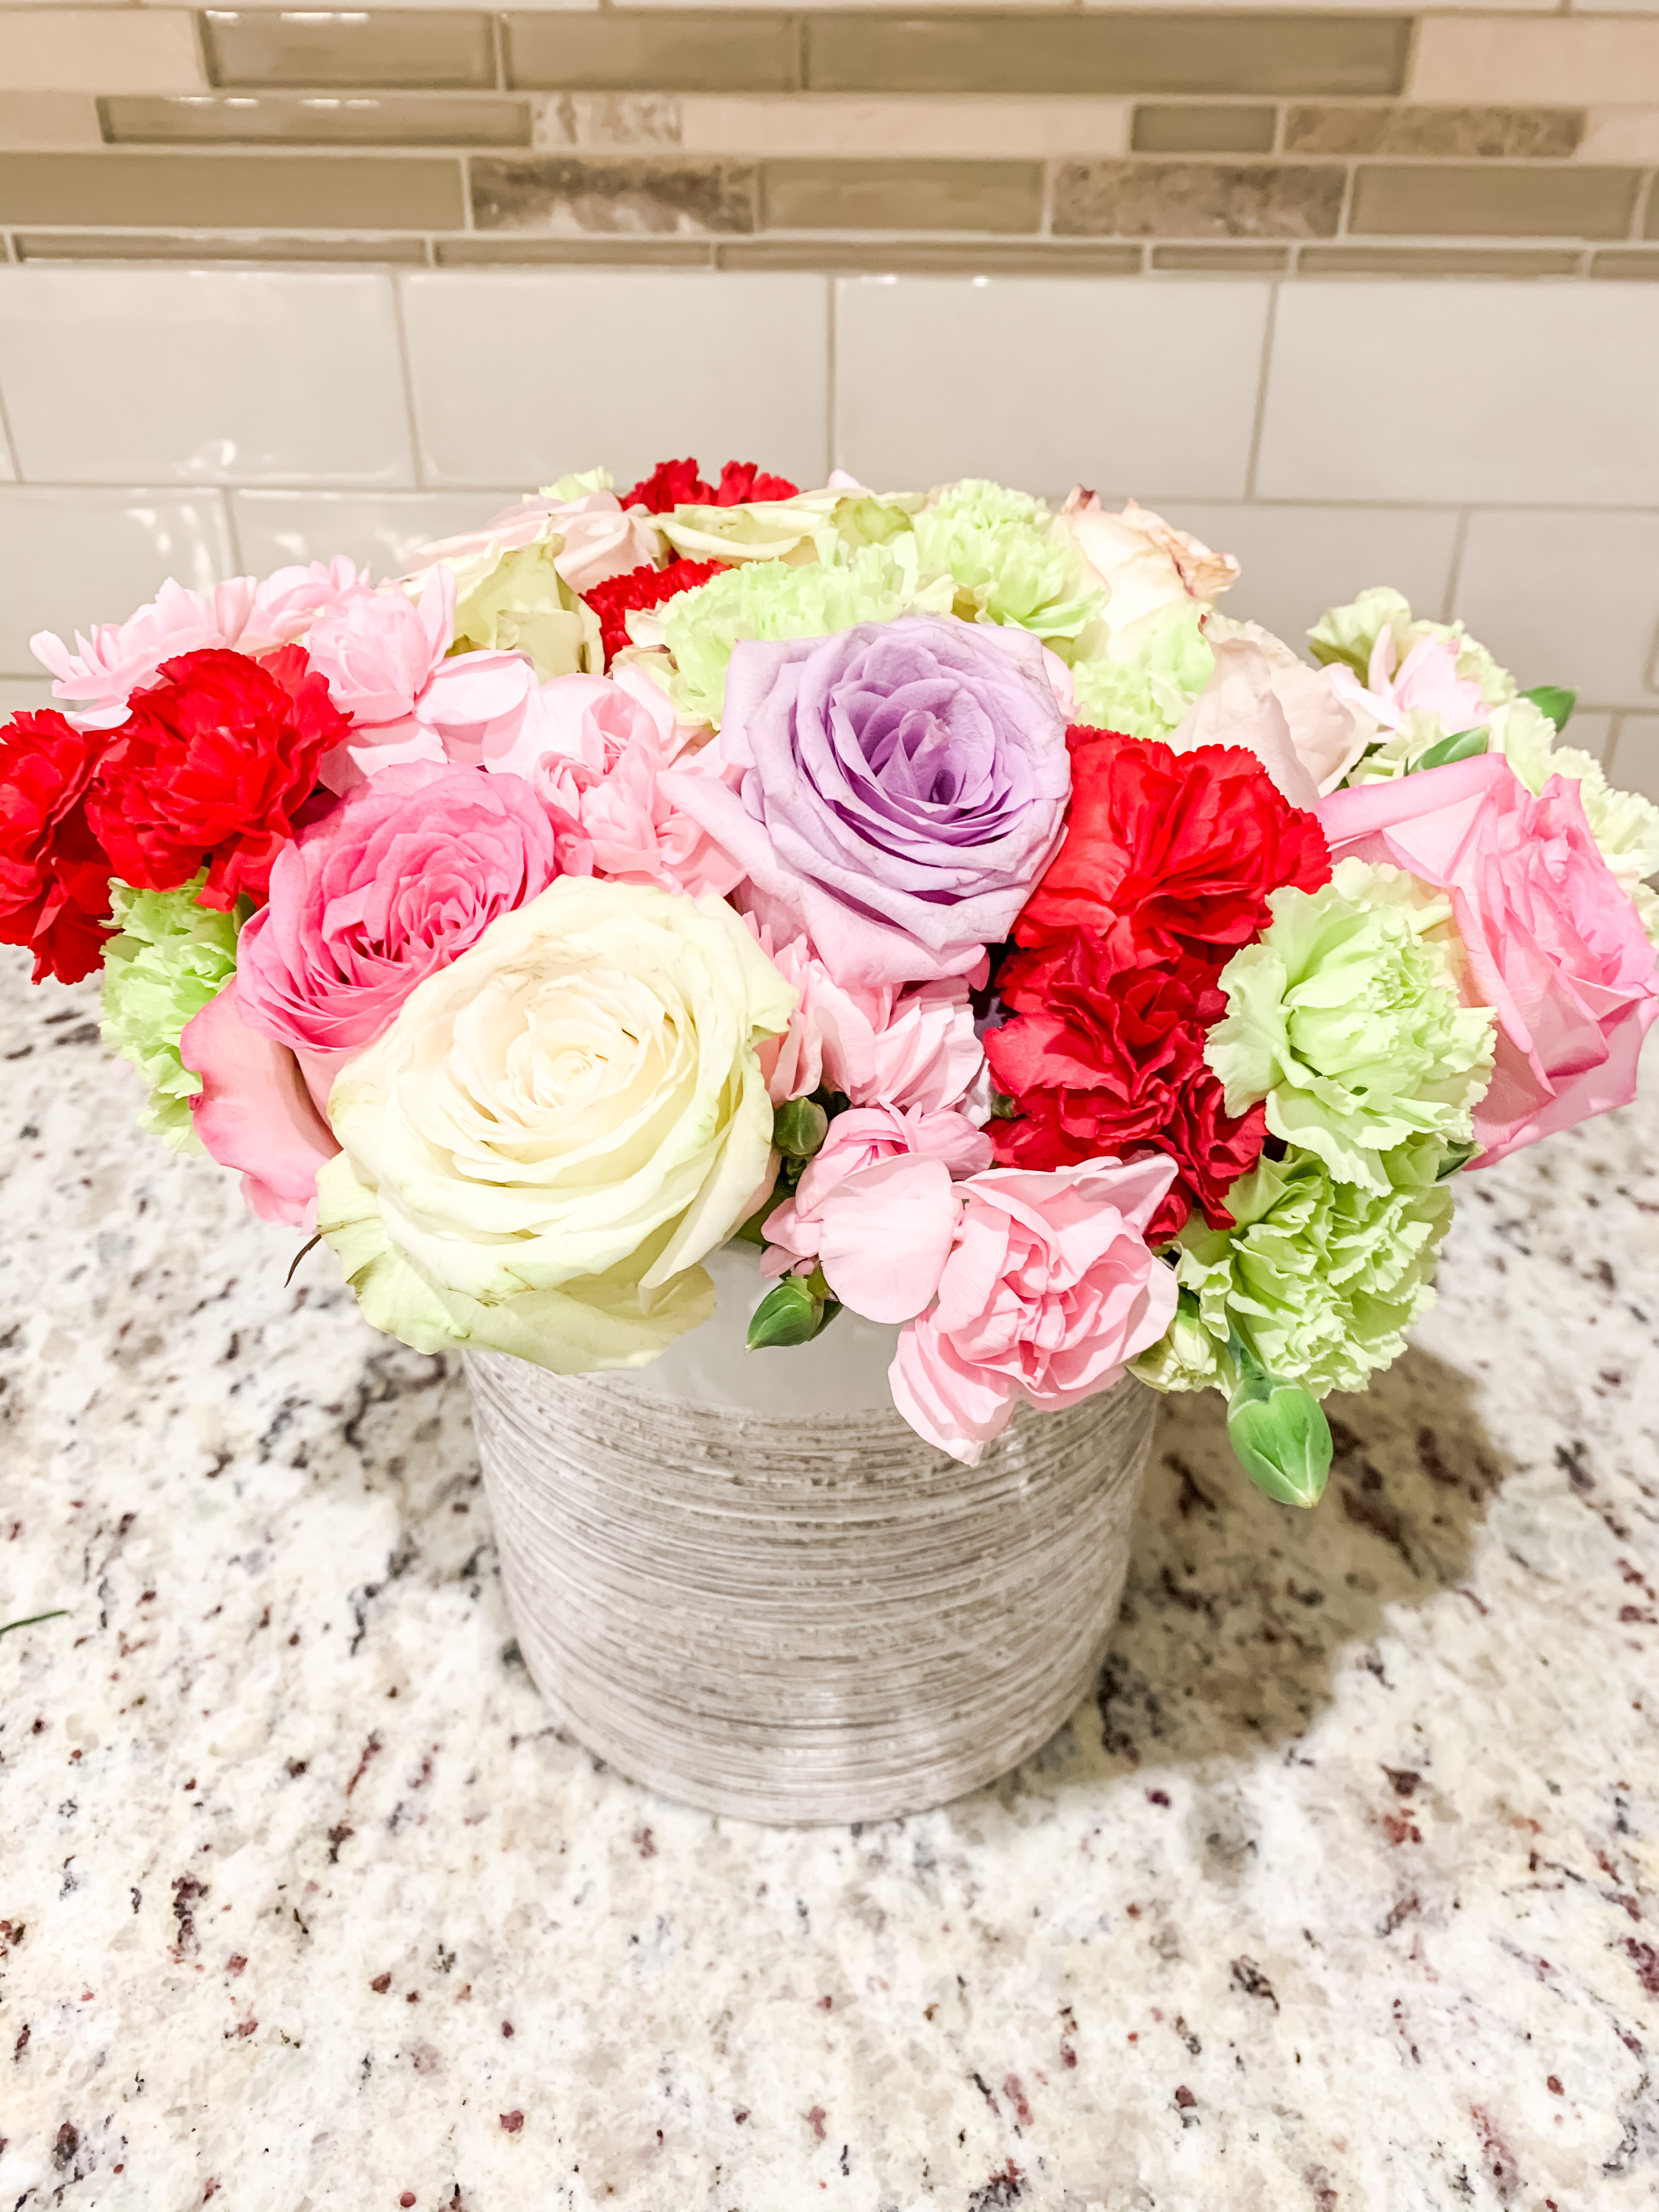
It only takes three simple steps to elevate grocery store flowers into an awe-inspiring Valentine’s Day arrangement.
Are you buying a pre-made arrangement this year, or are you taking the DIY route? Let me know!
Creatively,

- Romance on a Budget: Restaurant Quality Valentine’s Day Dinner at Home
Hey ya’ll!
I hope 2021 is off to an amazing start for you! For me, it’s honestly been a slow start, but I’m ready to hit the ground running with new content for you all. Let’s start with my second favorite holiday- Valentine’s Day!
Whether you want to avoid long wait times and overpriced entrees or you’re opting for a COVID-safe date night, making dinner at home is definitely the way to go this year. (If you ask me, it’s the way to go every year). Nothing says “I love you” like a delicious home cooked meal made by someone you love!
Dinner at home does not have to be basic or boring. You can still get glammed up and have an awesome experience with your special someone this Valentine’s Day. I wanted to share with you all an easy idea for a three-course dinner you can make when you want a restaurant quality meal, but don’t want to pay the restaurant price. Not only will this recipe keep you bougie on a budget, but you’ll wow your valentine with your culinary expertise at the same time! Let’s get into it!
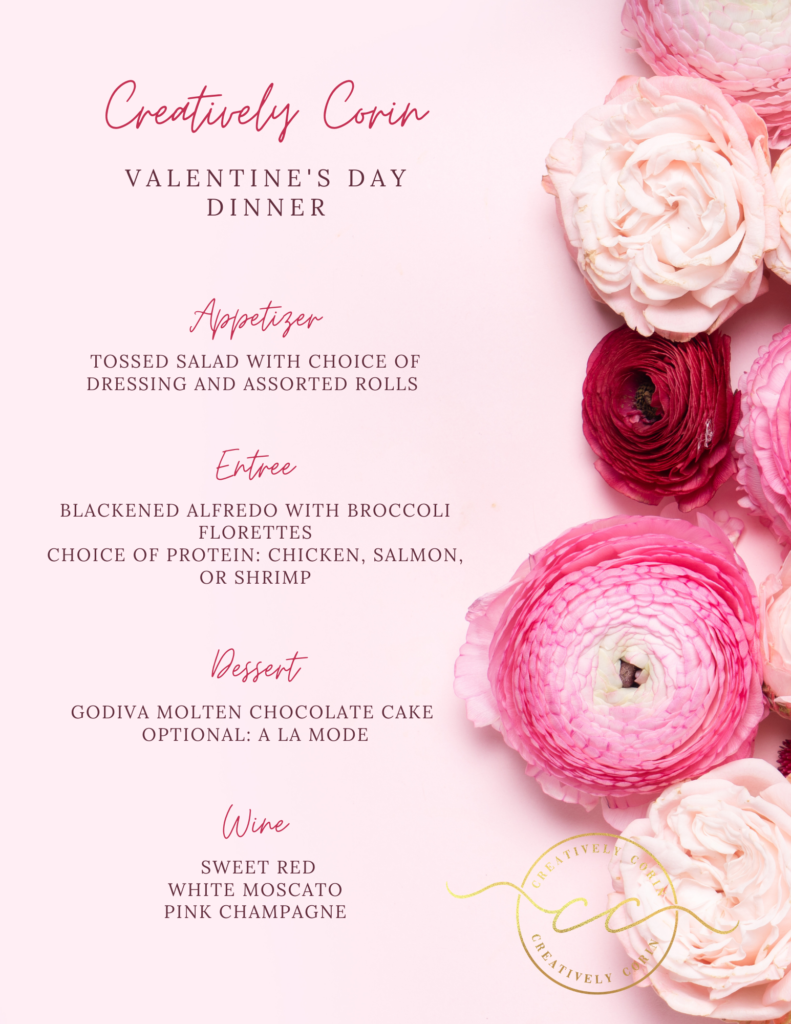
This should go without saying, but if on no other date, you have to have three courses on Valentine’s Day. It’s the day to spoil and be spoiled, am I right? Now this doesn’t mean you have to spend all day in the kitchen trying to become a MasterChef! Take a look at my sample Valentine’s Day menu that anyone can cook!
Appetizer
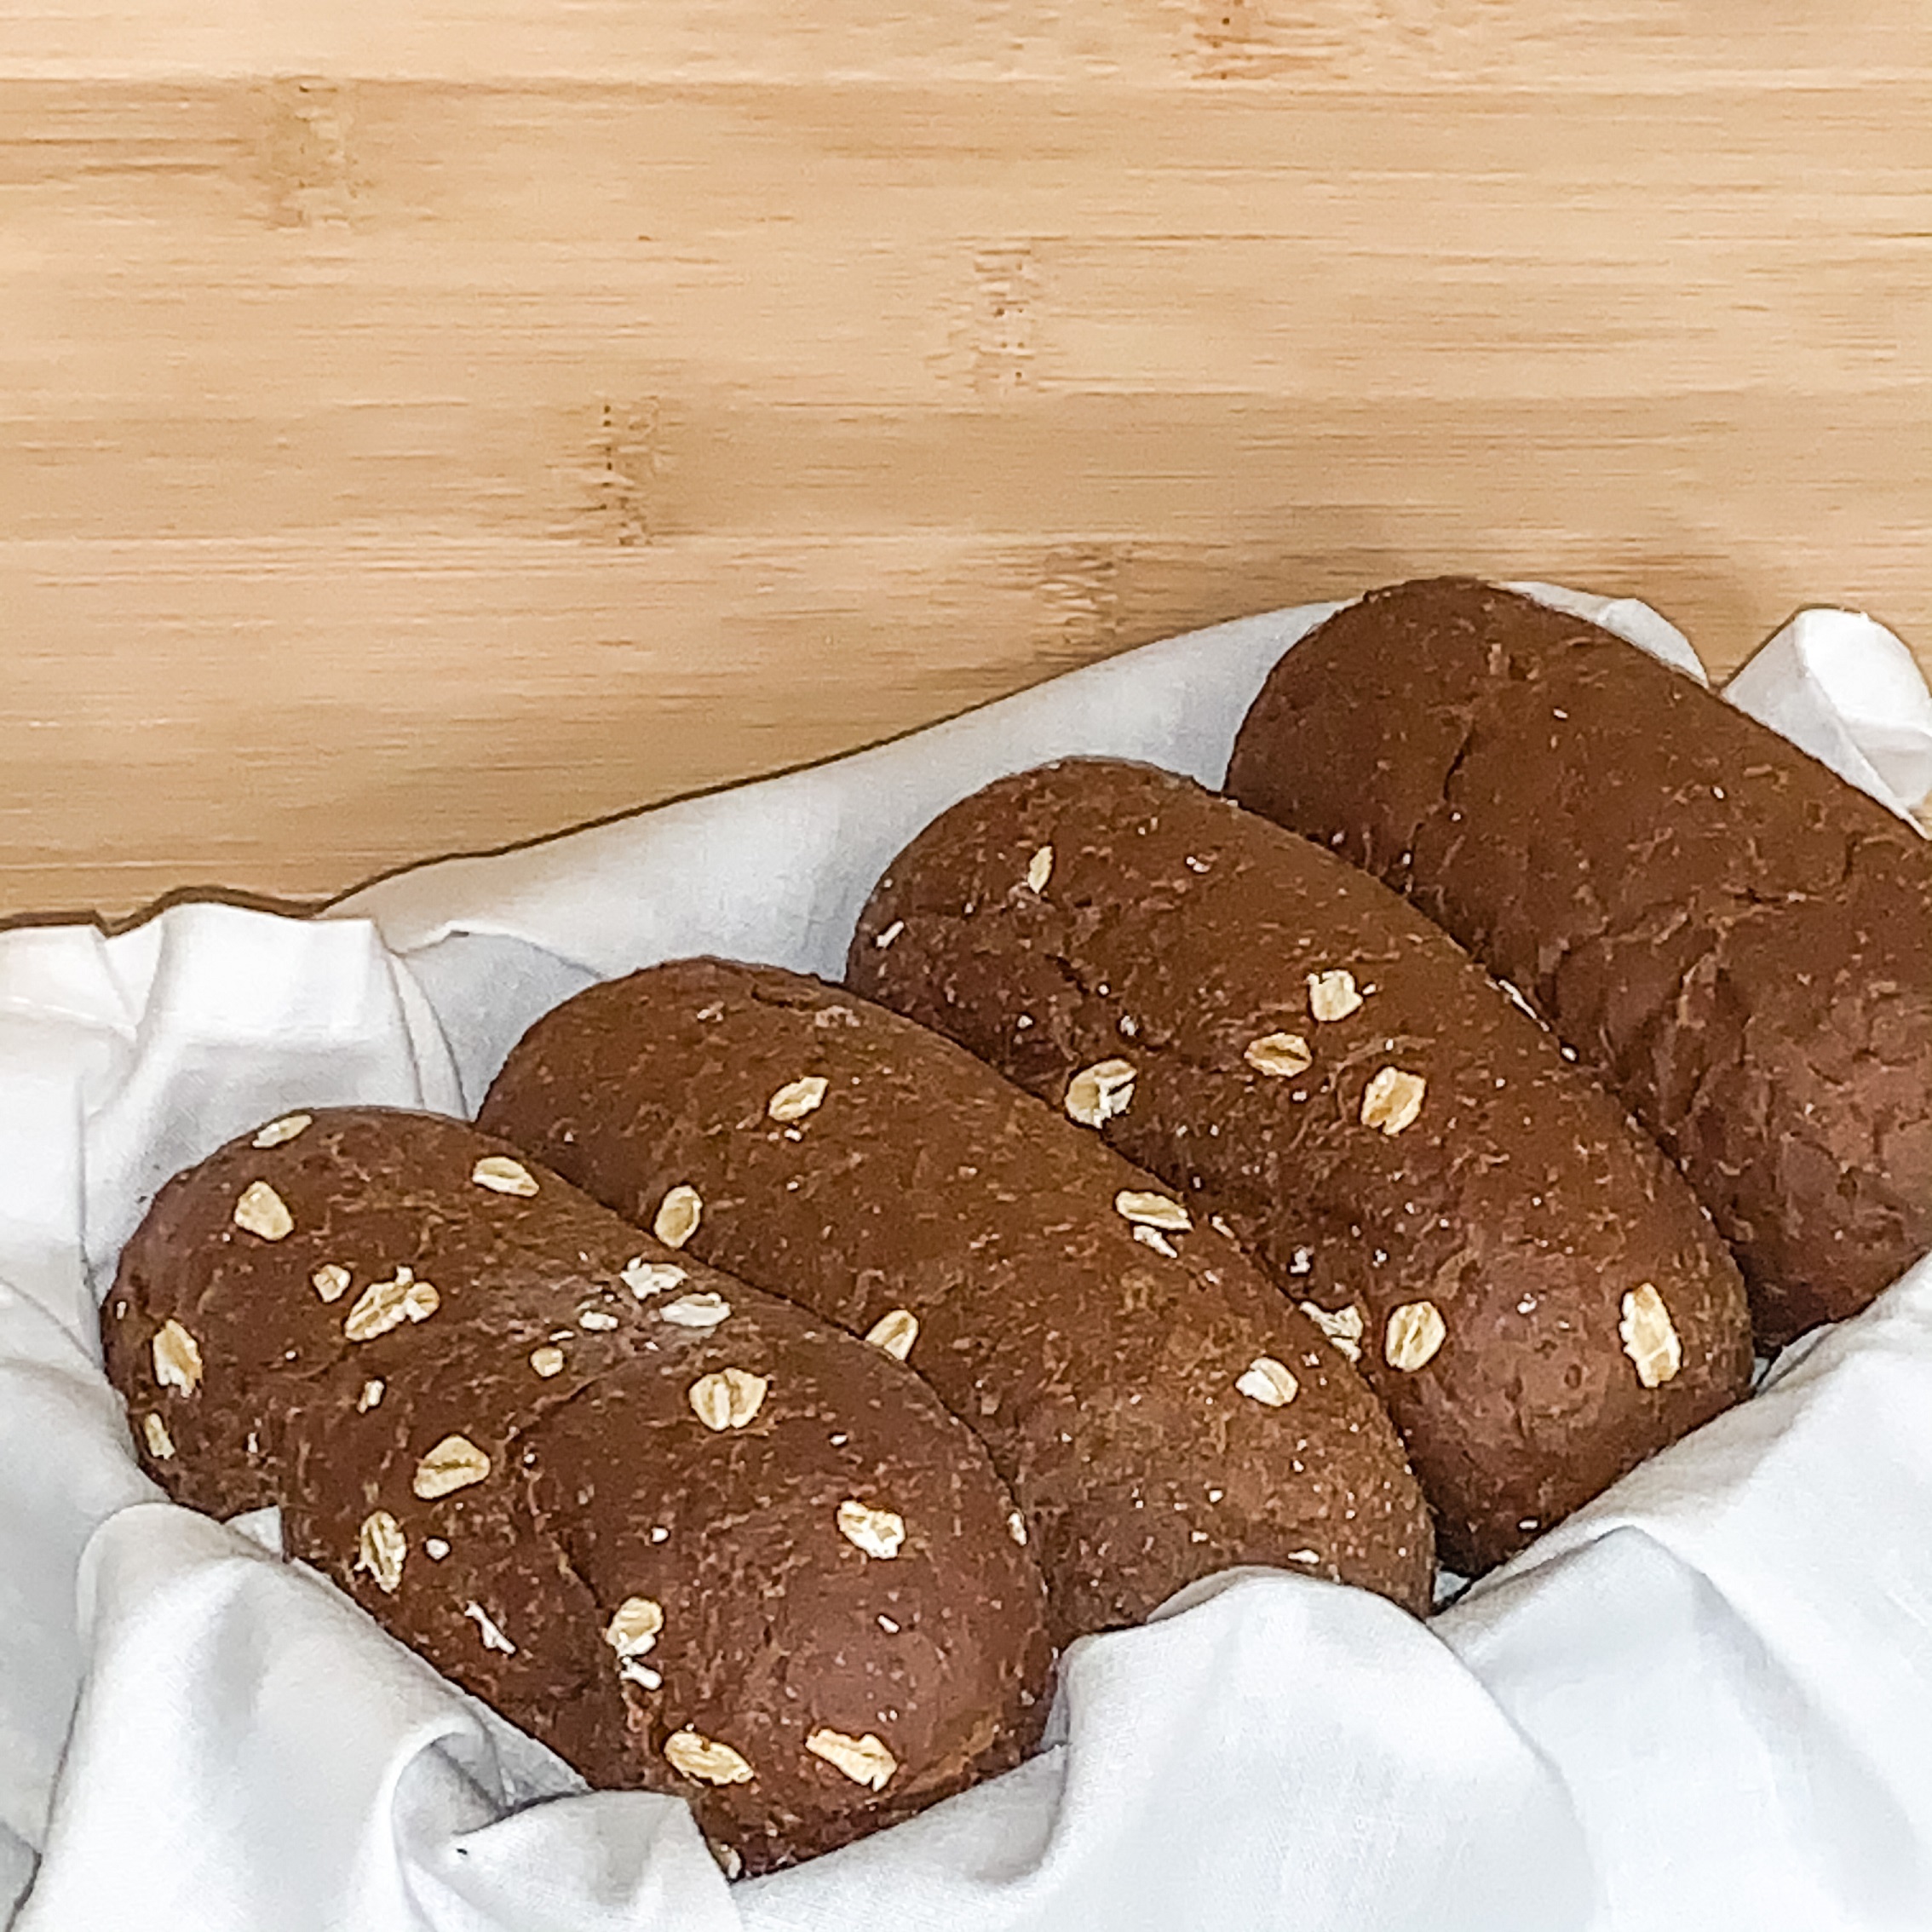
A simple salad and warm rolls is a great way to start a meal, especially one as indulgent as the one I’ve planned. Spruce up bagged salad mix by adding your favorite mix-ins, cheeses and dressing. For rolls, I couldn’t resist grabbing a bag of Cheesecake Factory “brown bread”! You can literally bring the restaurant home with this cult favorite appetizer. Pair with some high quality butter and you’re off to a good start!
Entrée
When you’re cooking a special dinner for your sweetheart, the last thing you want to do is try to reinvent the wheel. As much as alfredo is clowned on social media, it really is an absolute crowd pleaser! And my recipe takes the basic dish to a new level with a creamy homemade sauce and blackened protein. Trust me, it’s not ya mama’s alfredo- it’s better! You’ll need to subscribe for the full recipe, but here’s my signature blackening seasoning recipe that goes great with any protein:
- 1/2 tsp salt
- 1/2 tsp pepper
- 1/2 tsp cayenne pepper (you can use a full teaspoon if you’d like it spicier)
- 1 tsp onion powder
- 1 tsp garlic powder
- 1 tsp smoked paprika
- 1 tsp chili powder
- 1 tsp rosemary
- 1 tsp oregano
This recipe is just enough for a meal for you and your honey, but it can definitely be multiplied to make a large batch of seasoning to keep in your spice cabinet!

Dessert
Of course a romantic evening would not be complete without a decadent chocolate dessert. I stumbled across this boxed Godiva molten cake mix at my local grocery store and I just KNEW it was going to change lives. If you really want to impress your valentine, spend the $6 on this mix. Don’t forget to grab some strawberries and ice cream too!

Dinner at home can be just as exciting and delicious as going out to eat, even on a holiday! In fact, cooking for your loved one is a great way to show just how much you care. If you’re opting for a homemade V-Day dinner this year, I’ve done half the work for you. Let me know if you’re stealing my at-home menu this year, or if you’ll be making something else!
Lovingly,

- How To: DIY Digital Christmas Cards
Blogmas 2020 Day 11
Merry Christmas Ya’ll! I hope you are having a magical and safe holiday with your loved ones. As I scroll through my timelines on social media, my heart is warmed with all the family photos filled with love and joy! If your families are anything like mine though, it probably took a lot to get the perfect shot. But turning the photos into a Christmas card can be much easier than taking the photo itself.
Check out how I made mine using the free version Canva app!
Now that you know how easy and budget friendly making Christmas cards can be, you’ll never spend another dreadful afternoon at a photo studio or another penny on printed Christmas cards!
Wishing your family a wonderful holiday that’s just as picture-perfect as your Christmas card!
Joyfully,

- Decorate With Me: Great Room Holiday Facelift
Blogmas 2020 Day 10
If you’re preparing to entertain for the holidays and want to give your common areas a little more holiday cheer on a budget, I’ve got you covered! I’m going to to show you how I gave our great room a facelift from monochromatic to merry, all while staying bougie on a budget!
Living Area
Our living area has a gray and cream color scheme, so we played on those colors for Christmas as well. The tree is completely silver, but we added a pop of red in the gifts under the tree that gave it such a nice touch! I decided to go with red for accents in the rest of the room to tie everything together.
Floral Arrangement- This is a one-of-a-kind bouquet that I made in a holiday florals class. I enjoyed every moment, and left super proud of my lovely arrangement! Burgundy roses are my focal flower, surrounded by orchids, peppercorns, berries, and holly leaves.

Accent Pillows– To add the pop of color to the grey couches, I opted for accent pillows. Adding pillows is an easy and inexpensive way to update a space temporarily. All my pillows are from Target. They ended up being more orange-red than I expected, but they tied in beautifully with the floral arrangement.
Dining Area
While the dining table is usually bare, the holiday season is the perfect time to add a little sparkle to the tablescape!
Centerpiece- This modern conical Christmas tree from At Home is the focus of the centerpiece. I sat it on a plastic serving platter and surrounded it with small ornaments for filler. The end result was super simple and festive!

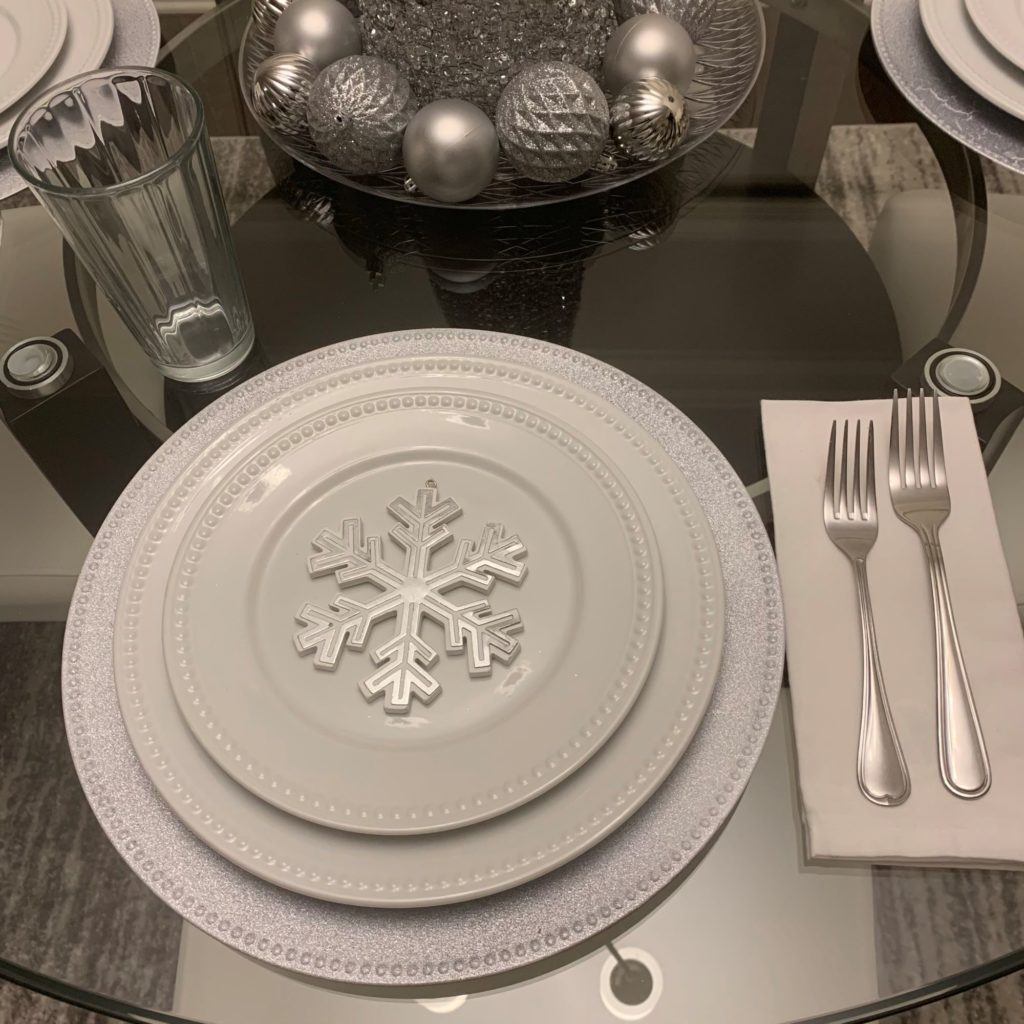
Place Settings- I also went the simple route for the place settings. Silver glitter chargers from Dollar Tree compliment the sparkle of the centerpiece. I then added the dinner and salad plates from our pantry, which had the same dotted rim as the charger. A snowflake ornament in the center of the salad plate serves as the name card holder and breaks up the white of the plates. Napkins, silverware, and glassware surround the plate, but not necessarily in the traditional placement. I like for place settings to beautiful yet still casual.
And that concludes the great room facelift! With just a few simple additions, the room was transformed to a holiday headquarters! If you are hosting this holiday, you can definitely stay within your budget while you make your home feel more Christmasy and cozy!
Creatively,

- How to Host a Holiday Gift Exchange that Won’t Suck
Blogmas 2020 Day 7
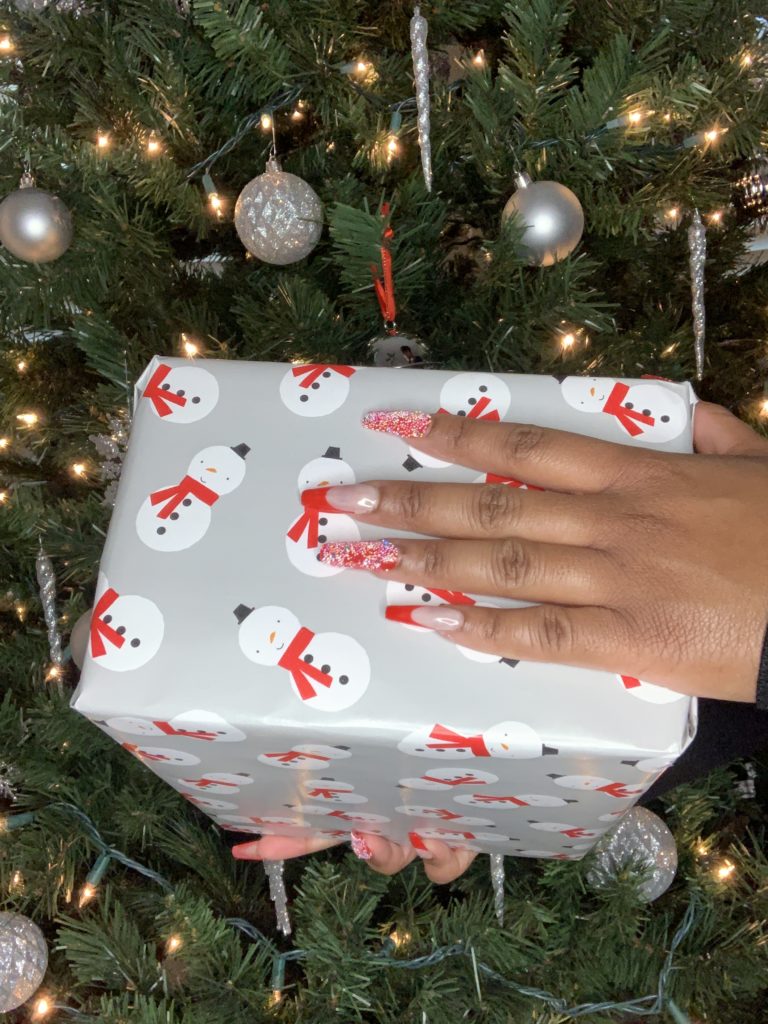
Raise your hand if you’ve been victimized by an awful holiday gift swap? You can’t see, but my hand is raised high. As someone who loves giving and receiving gifts, I always go all out when a gift exchange is involved. Others? Not so much. So I’ve put together a little guide to make your holiday gift exchange less sucky and more lucky!
Choose the Right Group
Provided this isn’t a part of an office holiday party, you can choose who you invite to participate in your gift exchange. Make sure you choose people who are actually interested- there’s nothing worse than giving a great gift and then receiving a half-hearted one in return!
Set a Budget
I cannot stress this enough. To ensure equity in the gift exchange, everyone must be willing to spend an equal amount of money. For best results, I suggest setting a spending minimum and maximum. This way, no one gets cheated!
Choose the Type of Exchange To Host
There are several different types of exchanges you can host. Here’s a few of the most popular ones that will work for various group sizes-
Small Group- For smaller groups (I’d say 5 or less) you can consider each person buying a gift for everyone in the group. This is the type of exchange my family and I do every year, and it works like a charm.
Mid-Sized Group- For groups of 5-10 people, I’d suggest the classic Secret Santa gift exchange. (Before beginning, make sure there’s an even number of participants so everyone receives a gift). Secret Santa is simply drawing names from a hat and purchasing a surprise gift for the person who’s name you’ve drawn. Now, this can be a little difficult if you are not close with everyone in the group. But no worries, I’ve got a solution for that! Use the site Elfster, which allows everyone to make a wish list that is sent directly to your personal Secret Santa! Elfster is totally free and takes all the guesswork out of Secret Santa. The site will even assign the name for you!(P.S. this is not sponsored, I just highly recommend).
Large Group- White Elephant is a really fun gift exchange game that’s ideal for 10 or more people. Everyone buys a gift within the budget, and brings them wrapped discreetly. You then take turns picking a mystery gift for yourself from the pile! You can even choose to swap gifts with someone if they get something you’d like more! One thing to note about White Elephant is that the budget is typically set low and the gifts can be gag gifts if you wish. I’d advise that you set an all or nothing rule beforehand to decide if you’ll do gag or genuine gifts.
Plan the Actual Exchange
Exchanging gifts should be an activity in itself! While it’s advised to avoid large gatherings for now, you can always plan a COVID-safe gift exchange gathering with your small group and make a night out of it! You might consider adding the gift exchange to the movie night I wrote about in Blogmas Day 2!
Holiday gift exchanges don’t have to suck, it just takes a little planning and creativity! Try some of my tips and let me know how they worked for you!
Jollily,

- How To: Luxury-Inspired Christmas Wreaths
Blogmas 2020 Day 3
On Blogmas day one you saw me put together my very nontraditional Christmas tree, so today I thought I’d show something more conventional.
I live for a touch of luxury, especially during the holidays. When I searched luxury Christmas décor, I didn’t find a lot of reds and greens or use of color at all. Instead I found décor on the more monochromatic, metallic side. So for our family tree, we chose silver, and I decided to make wreaths to match!
Making the wreaths was actually a very simple process! In about 6 steps and probably a total of 60 minutes, my wreath was complete.

Steps
- I purchased a $5.99 24″ wreath from Michael’s. I recommend measuring the space you are hanging your wreath beforehand to make sure you’re optimizing all your space without overcrowding it.
- Just like with the branches of my Christmas tree, I started off by separating and fluffing. This made the wreath appear fuller and made sure that when I moved on to the next step, every branch would be covered.
- Next, I frosted the wreath with silver glitter spray paint. To my surprise, it took the entire $7.99 can to give the wreath even a light dusting. You can definitely purchase a pre-frosted wreath, but it will be more expensive than a can of paint. It didn’t take much time to spray paint this plain one, and it was lots of fun!
- After the paint had dried, I moved on to ribbon. Pro Tip: It is important to use wired ribbon so your loops and bows hold their shape. The glitter snowflake ribbon I used was 2.5 inches wide, and came in a 10 yard spool for under $5! Talk about a luxury look on a budget! To form my loops, I first anchored the ribbon to a branch on the wreath by tying it around. Then, I made a rainbow shape, and wrapped the next branch around the ribbon to secure it. I repeated this all the way around the wreath, and then snipped off the excess ribbon.
- For the next step, I simply repeated everything I did in step 4 on the outermost branches of the wreath. I love the double halo effect it created!
- Finally, I secured the bow to the top of the wreath, and it was complete!
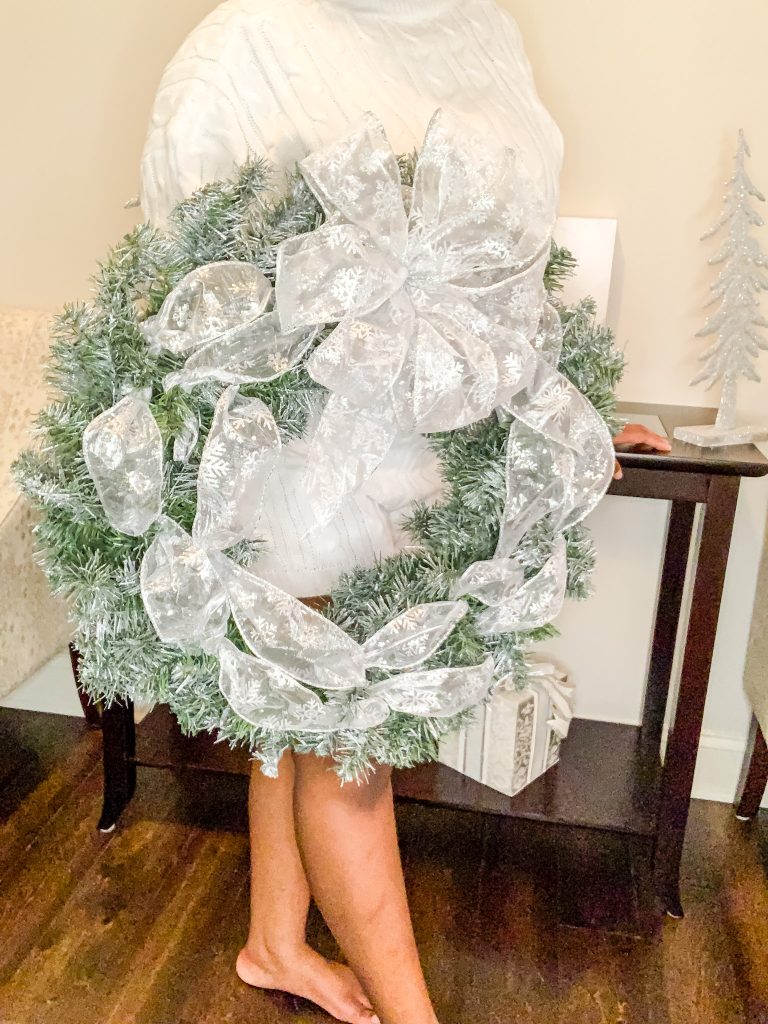
Here’s the finished wreath, which I hung in my foyer! If you’d like to see how I created the bow for the top, subscribe for access to the video on my freebies page!
Lavishly,

- How To: Host a Cozy Holiday Movie Night
Blogmas 2020 Day 2
One of my favorite things to do during the holiday season is watch movies! I am guilty of loving even the cheesiest and most predictable movies. They still give me the warm and fuzzies!
Finding fun activities to do during a pandemic has proven to be a challenge, but a movie night never fails! You stay in the comfort of your own home, and enjoy the experience with those closest to you. The three most important factors that go into hosting a cozy holiday movie night are pajama choice, movie selection, and menu.
Pajama Choice
I’m usually a tshirt-and-shorts sleeper, but I do own pajamas for the nights I want to be a little more bougie! This fuzzy set is my favorite! It can be a little warm for a typical Atlanta winter night, but it is great for special occasions like movie night! If you really want to step up your movie night game, go for matching or coordinated pajama sets for your guests. Target and Old Navy have an awesome selection of pajama sets for men, women, and children!

Movie Selection
This is the whole point of movie night, right? My biggest advice would be to research your movie(s) of choice beforehand. I’ve found that many streaming services and even cable providers charge additional fees to watch movies that are in high demand. So making sure your featured film is available to you at little to no cost (I prefer no cost) is crucial.
I also recommend narrowing the choices down beforehand and sending out a poll when you invite guests. That way you’ll know what everyone is interested in seeing. My holiday movie of choice this year is Jingle Jangle. From the period costumes to the song and dance numbers, I loved every moment of it! I think it is a good choice for kids and adults alike.
Here’s some of my other favorite holiday films that won’t disappoint!
Menu
Hosting a movie night should be fun and relatively effortless. This type of gathering is not where I’d be breaking out the pots and pans at all. Keep it simple by ordering takeout- pizza, wings, burgers, etc.
And if you can even remember the last time you went to the movies, you’d recall that candy and popcorn are absolutely mandatory at the theater. The same goes for your at home movie night! I had a lot of fun creating holiday themed desserts for my guests. Christmas met the theater with my hot cocoa bar and candy smores board. And since you’ve gotta have popcorn, I whipped up some peppermint cookies and cream popcorn I like to call “reindeer munch”. If you’re subscribed to Creatively Corin, you can find the recipes on the Freebies page!
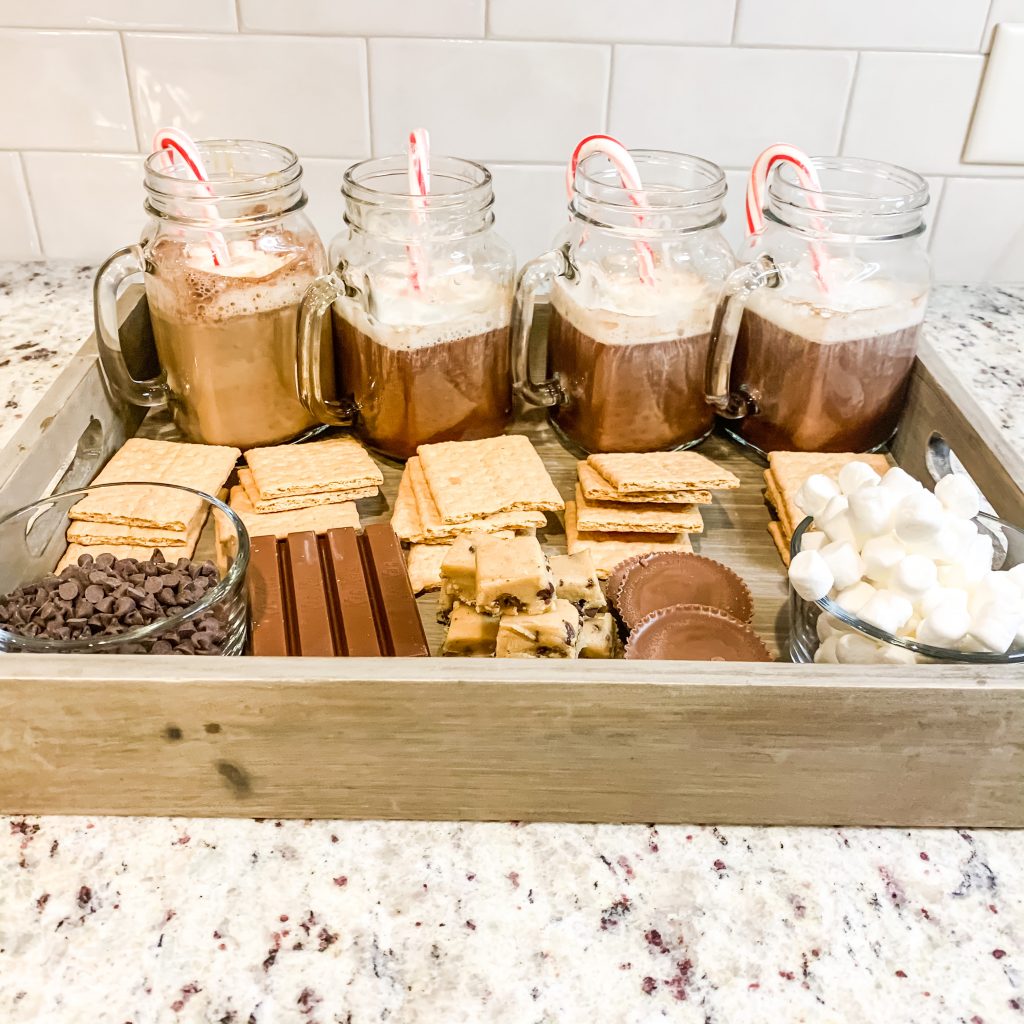
Hosting a cozy holiday movie night is as easy as 1 (pajama choice), 2 (movie selection), 3 (menu). And best of all, you don’t have to break the bank to do it! Let me know how you host a movie night below!
Cozily,

- How To: Decorate a Budget Friendly Floral Christmas Tree
Blogmas 2020 Day 1
Merry Blogmas, ya’ll!
If you don’t know by now, I love Christmas. The sights, scents, and sounds of the season fill me with so much joy! I’m about as far from a Scrooge as you can possibly get. 2020 has been a doozy to say the least, so this holiday season I hope to share many special moments with you all that will help us end our year right. I thought it was only appropriate to begin with the star of the Christmas show- the tree!
I’m a sucker for tradition, but ever since seeing a Pinterest post a few years ago, I have been itching to have a nontraditional floral Christmas tree. Its really a lot easier (and less expensive) than it looks. Stay tuned to see how I created my bougie floral Christmas tree on a budget!
Materials

Here is the blank canvas- an artificial 6 foot Christmas tree.
All of the flowers came from Michael’s, and being that they are spring flowers, they were on sale! They ranged in price from about $7.99 to $12.99, but keep in mind that Michael’s offers a daily 40% off coupon, so if you miss a markdown, you can still save.
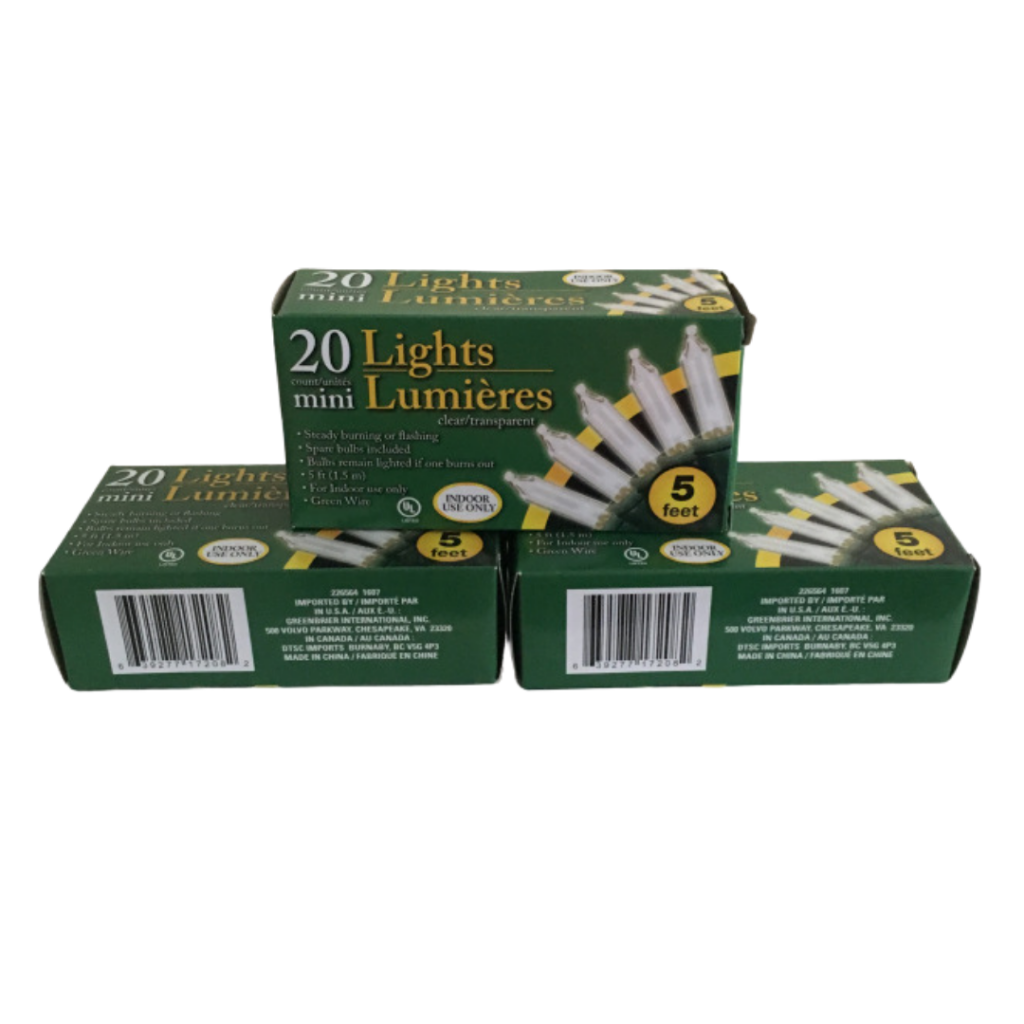
Any lights will do- these came from Dollar Tree. A good rule of thumb is to purchase at least two times the height of your tree in lights. For me, that’s 12 feet of lights at a minimum.
Assembly
The steps are simple-
1. Fluff and separate the branches of the tree to your liking. Each branch of your Christmas tree should resemble the fingers on a hand spread out like “spirit fingers”. Pro Tip: Start from the top of the tree and make your way to the bottom, that way you’re not smooshing fluffed branches as you work.
2. Wrap the tree in lights. I recommend white lights, as multicolored lights would distract from the flowers. You should also work from top to bottom when doing this.
3. The next step is optional, but I wanted my tree to be full and vibrant, so I added ribbon! It matched the color scheme to a t. My ribbon was unwired, so it made it difficult to form loops or bows, but it was perfect to create a spiral effect.
4. Cut the stems of the flowers down to a reasonable length- I used standard wire cutters to cut the stems, but for thinner stems, a pair of heavy duty scissors will do the trick- and arrange them around the tree.(You may desire to secure the flowers to the branches using wire ornament hooks).
Accessorizing & Final Product
To add to the décor, I created at tree “skirt” from a round of artificial grass that I had on hand. (#craftqueen)
If you’d like to check out a step-by-step video tutorial on how I decorated my tree, click ‘Freebies’ tab and enter the password from your subscription confirmation! If you haven’t subscribed yet, do that first!
Until tomorrow!
Creatively,

- How To: Host a Friendsgiving Dinner that Won’t Suck
Can you believe Thanksgiving is just a week away? It seems as if November has flown by. I’m already decorating for Christmas, but I couldn’t skip over the introduction to the holiday season! Thanksgiving is all about being grateful for the blessings in your life, and I love that the concept of Friendsgiving has become popular in the last few years! But if you’ve ever attended a poorly planned Friendsgiving dinner, you know that sometimes they can suck. That’s why I’m here! Now that it’s your turn to host, I want to give you some tips to host a Friendsgiving Dinner that won’t suck.
Disclaimer: As we are in a global pandemic, necessary precautions are recommended before assembling with individuals outside of your immediate family. This post will not detail specific COVID-19 precautions, but you can read my suggestions in this previous post.
Guests
This could be the single most important part of planning. Nothing is worse than mixing unfamiliar friend groups and enduring awkwardness all night, or dealing with feuding friends when you’re supposed to be celebrating. Take care to pick guests that are friendly and sociable, won’t clique up at your dinner party, and squash all beef before arrival. I also recommend allowing your guests to see the guest list on your invitations. It gives them a heads up, and lessens the chance of any conflict. Remember- These are your friends and you’re the host. It is perfectly acceptable to let guests know if they can’t be nice, they can stay home.
Menu
Thanksgiving’s claim to fame is the spread of delicious dishes. But if you’re anything like my family, you’ll be eating holiday food a week after the actual holiday. So you definitely don’t want to overdo it with the same traditional dishes at your Friendsgiving dinner! Shake things up a bit by serving comfort foods that aren’t on the menu at your main dinner.
You’ll have to be mindful of your guests’ dietary restrictions and preferences when building your menu, of course. You might even decide to allow your guests to vote on menu items, to ensure everyone will have something they like.
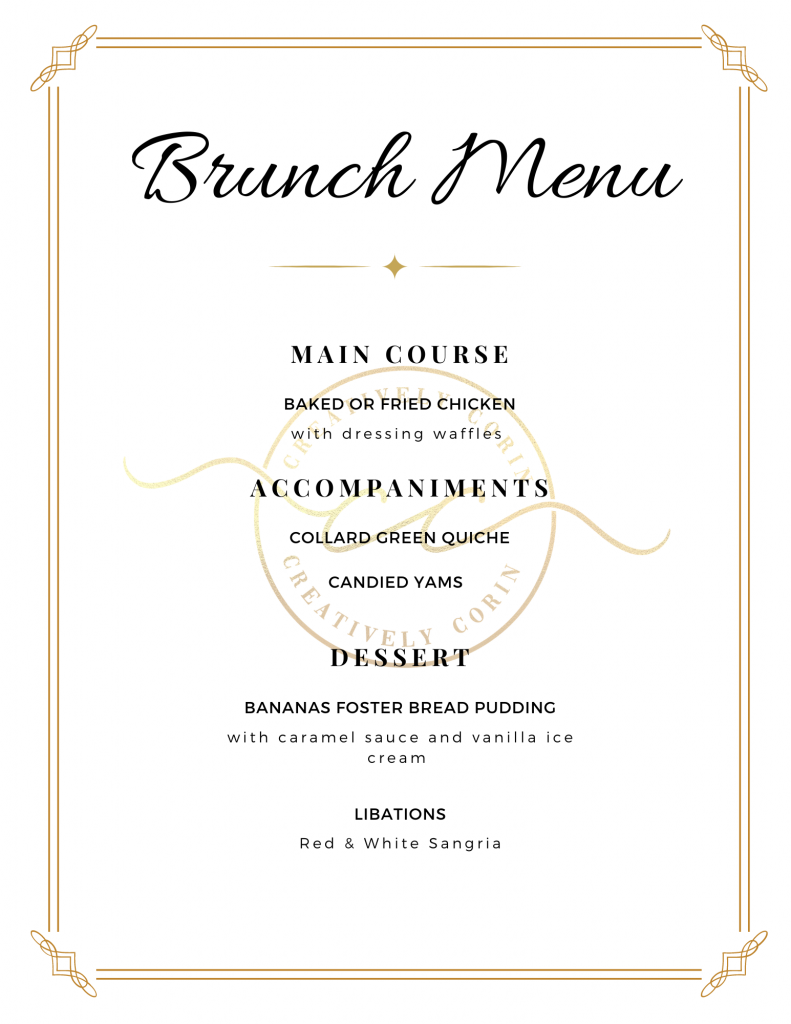
Here’s a sample menu from my Friendsgiving brunch that was a crowd pleaser:
Décor
While I am usually all for extravagant décor, the meal is typically the star of the Thanksgiving show, and I’d hate to detract from that. Keeping the décor cozy and intimate will set the tone for your gathering without distracting from the spread. A lovely centerpiece like the ones I made here are perfect for your Friendsgiving!

Handwritten name cards will also be a nice personal touch that your guests will truly appreciate!
Lastly, a craft paper runner is an inexpensive décor element that can double as a keepsake! Have all your guests write a message on the runner and frame it for years to come!
If you’re hosting Friendsgiving this year, it doesn’t have to be a miserable experience. It should be quite the opposite! Focusing on the categories of guest list, menu, and décor will ensure you have a Friendsgiving to be thankful for!
Be safe and enjoy your holiday!
Thankfully,

Create a life well-lived.
COPYRIGHT © 2021 CREATIVELY CORIN
THEME BY ECLAIR DESIGNS


