Blogmas 2020 Day 1
Merry Blogmas, ya’ll!
If you don’t know by now, I love Christmas. The sights, scents, and sounds of the season fill me with so much joy! I’m about as far from a Scrooge as you can possibly get. 2020 has been a doozy to say the least, so this holiday season I hope to share many special moments with you all that will help us end our year right. I thought it was only appropriate to begin with the star of the Christmas show- the tree!
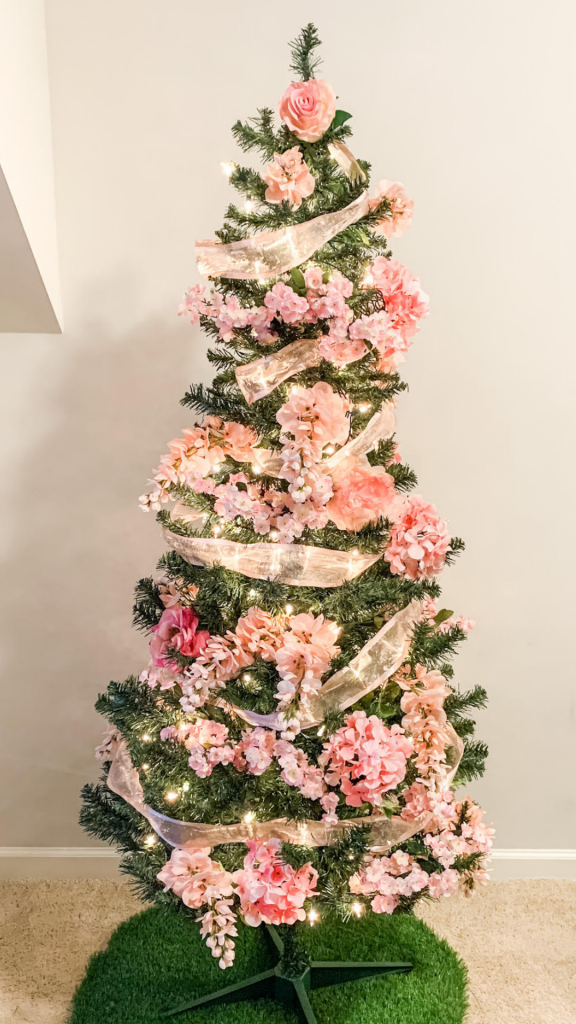
I’m a sucker for tradition, but ever since seeing a Pinterest post a few years ago, I have been itching to have a nontraditional floral Christmas tree. Its really a lot easier (and less expensive) than it looks. Stay tuned to see how I created my bougie floral Christmas tree on a budget!
Materials
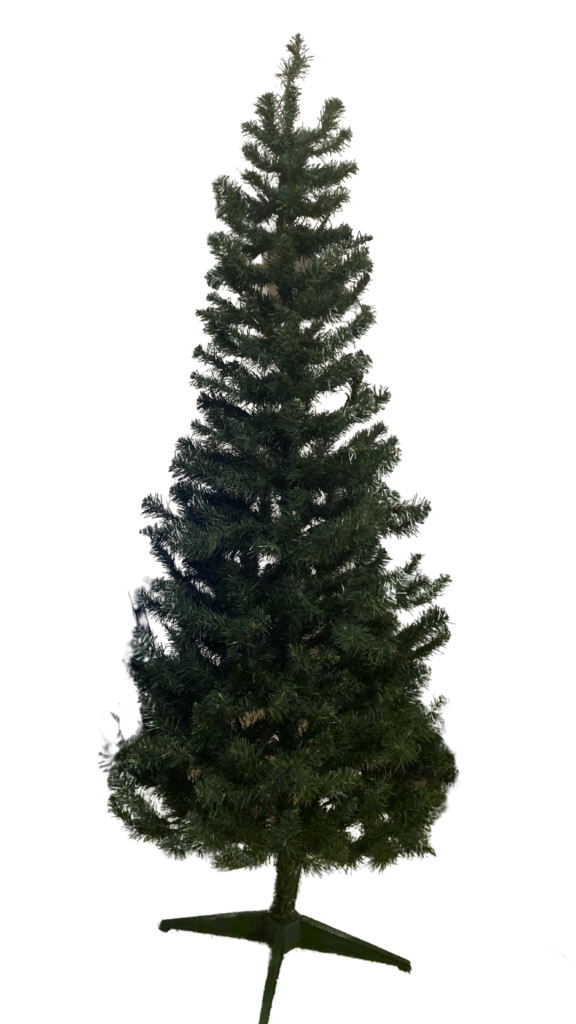
Here is the blank canvas- an artificial 6 foot Christmas tree.
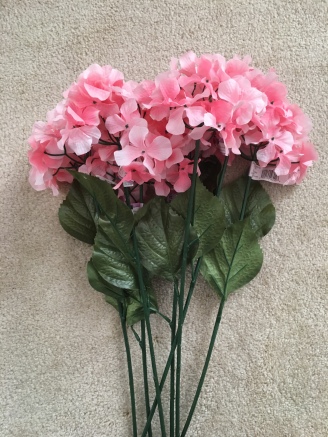
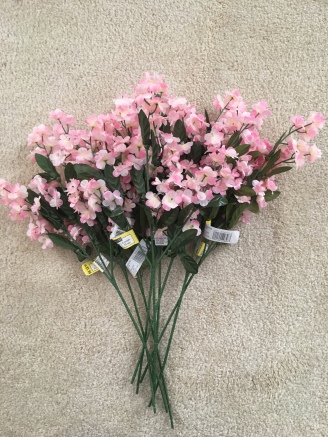
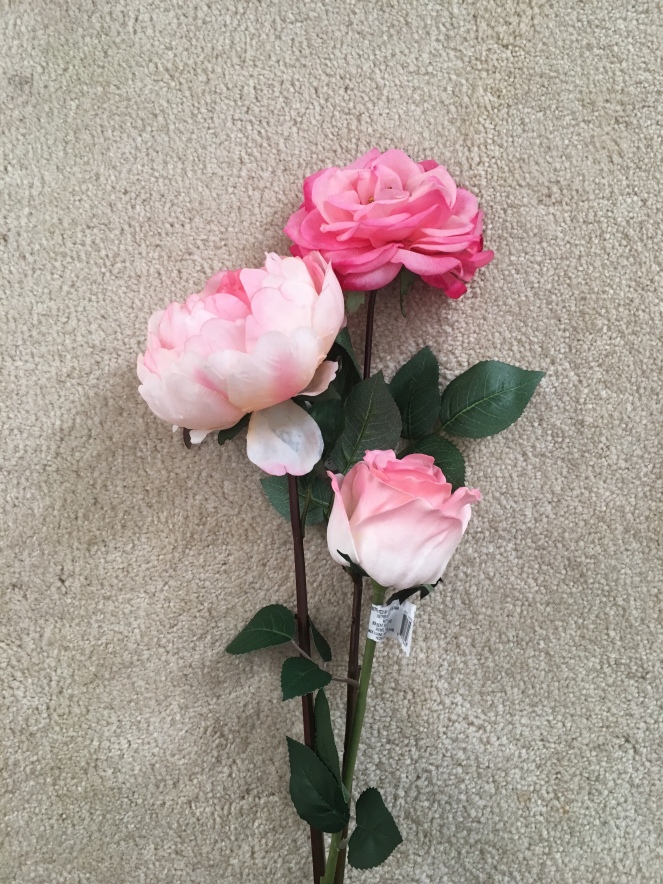
All of the flowers came from Michael’s, and being that they are spring flowers, they were on sale! They ranged in price from about $7.99 to $12.99, but keep in mind that Michael’s offers a daily 40% off coupon, so if you miss a markdown, you can still save.
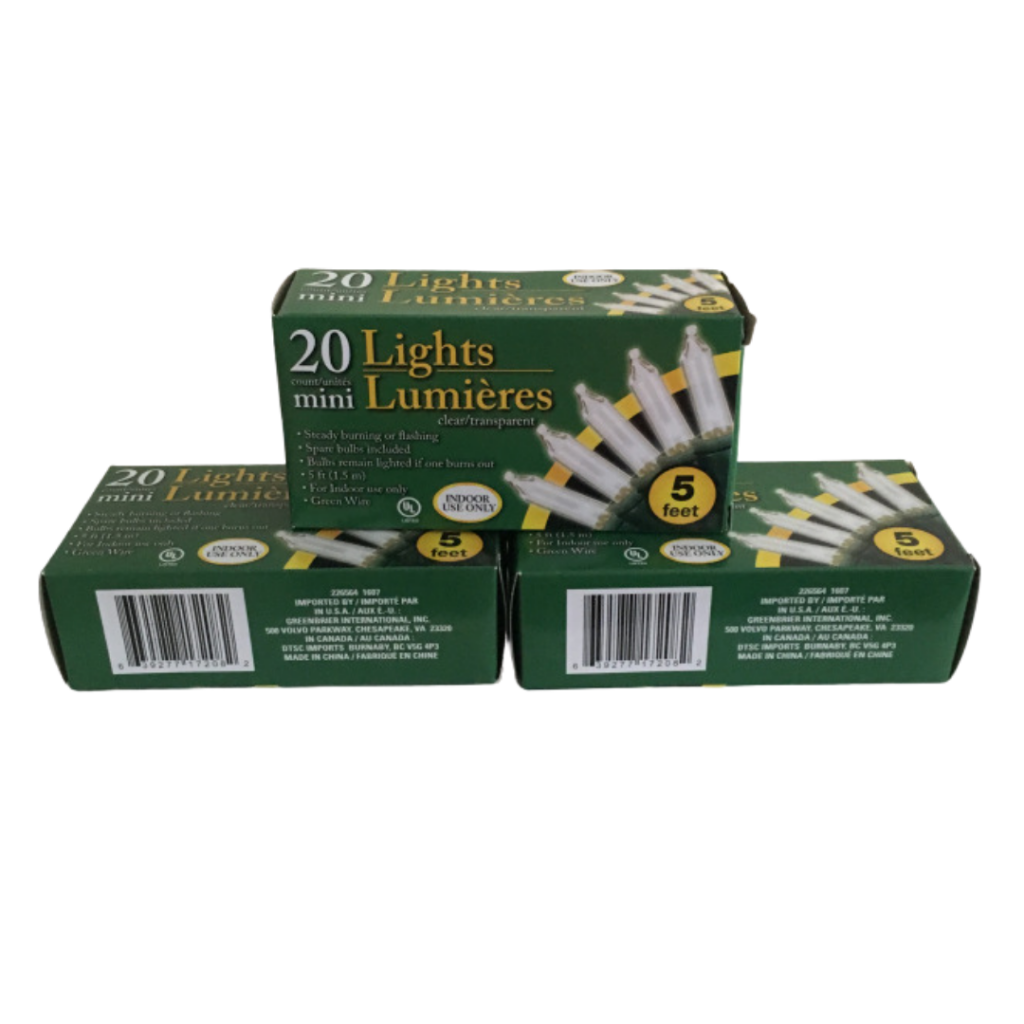
Any lights will do- these came from Dollar Tree. A good rule of thumb is to purchase at least two times the height of your tree in lights. For me, that’s 12 feet of lights at a minimum.
Assembly
The steps are simple-
1. Fluff and separate the branches of the tree to your liking. Each branch of your Christmas tree should resemble the fingers on a hand spread out like “spirit fingers”. Pro Tip: Start from the top of the tree and make your way to the bottom, that way you’re not smooshing fluffed branches as you work.
2. Wrap the tree in lights. I recommend white lights, as multicolored lights would distract from the flowers. You should also work from top to bottom when doing this.
3. The next step is optional, but I wanted my tree to be full and vibrant, so I added ribbon! It matched the color scheme to a t. My ribbon was unwired, so it made it difficult to form loops or bows, but it was perfect to create a spiral effect.
4. Cut the stems of the flowers down to a reasonable length- I used standard wire cutters to cut the stems, but for thinner stems, a pair of heavy duty scissors will do the trick- and arrange them around the tree.(You may desire to secure the flowers to the branches using wire ornament hooks).
Accessorizing & Final Product
To add to the décor, I created at tree “skirt” from a round of artificial grass that I had on hand. (#craftqueen)
If you’d like to check out a step-by-step video tutorial on how I decorated my tree, click ‘Freebies’ tab and enter the password from your subscription confirmation! If you haven’t subscribed yet, do that first!
Until tomorrow!
Creatively,

