To wrap up my Room Redesign Series, I had to find the missing piece in my bedroom retreat puzzle. Even after restyling my bed and creating my workspace area, my room still felt incomplete. Oddly enough, it seemed a lot smaller when there was nothing in it! One of the biggest challenges was working around the “secret door” to my attic storage space. With my bed sitting to the right of the door, it left an awkward space on the left. I wanted to put something useful there, and not clutter the area with a bunch of junk. I needed to create my own signature space- not for sleeping, not for working, just for me. I also needed more storage (who doesn’t?). So I decided to turn the dead space into a multipurpose book nook.
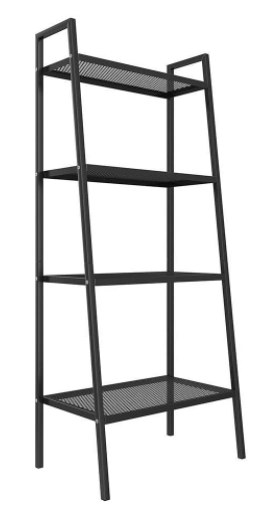
Shelving is an easy way to add storage that can be an attractive focal point in your room. I wanted to make sure all my furniture matched, so I searched for an open shelving solution with a black iron finish. I scored this one from Amazon for about $40.
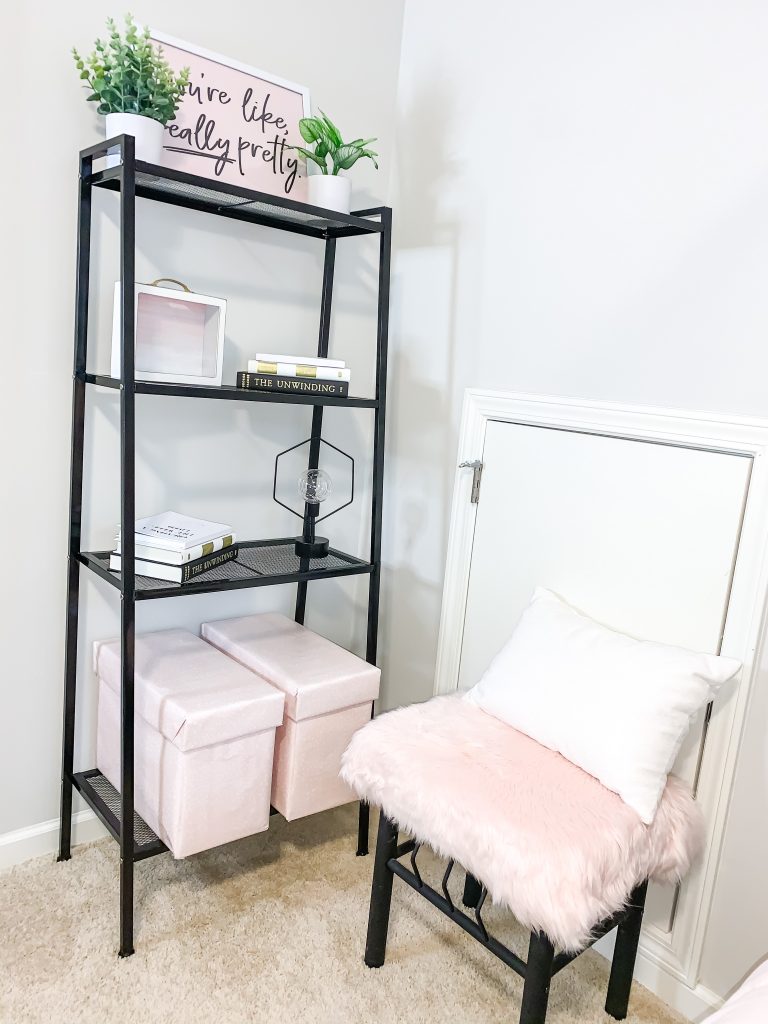
Now on to the fun part- styling! Styling a shelf can be tricky, but if you follow my guide, you’ll get it right every time. The key to styling bookshelves is symmetry. From top to bottom, here are the pieces I used to make my shelf come alive!
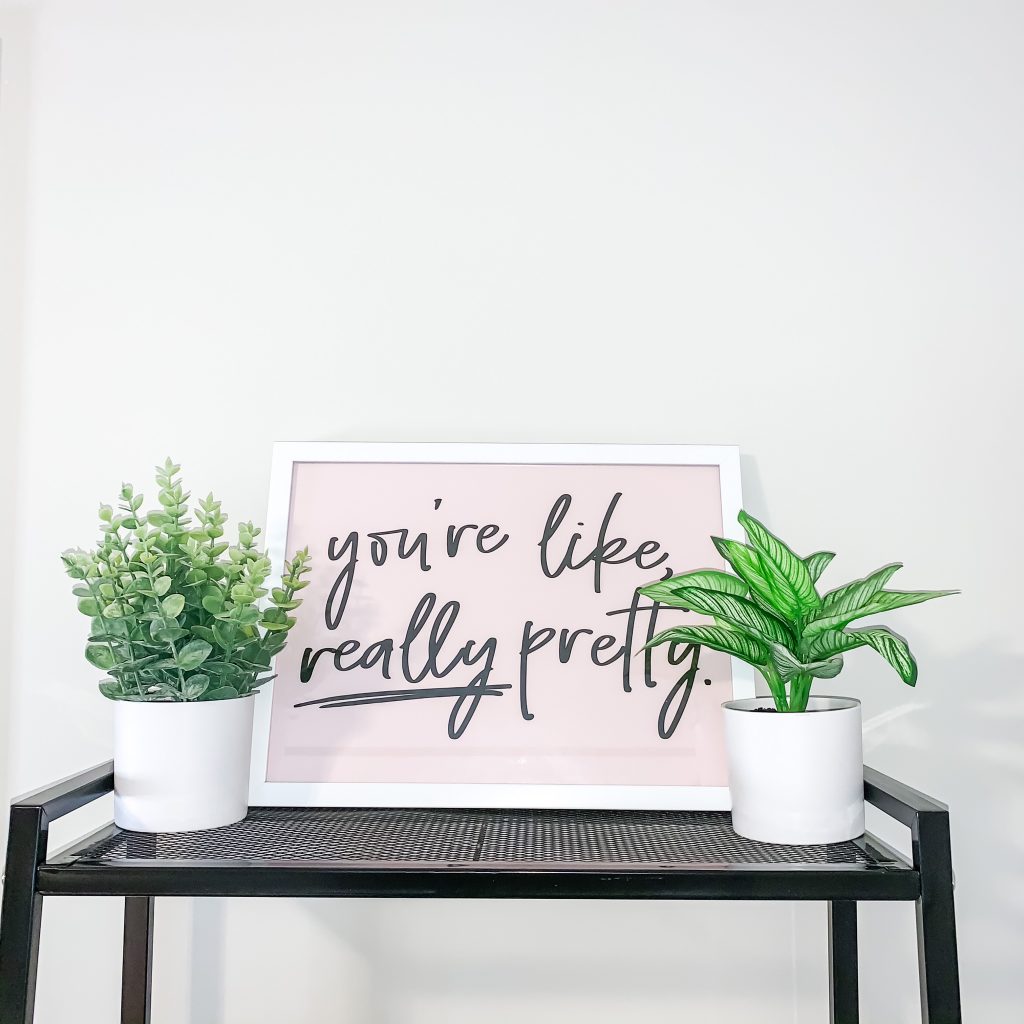
Top Shelf
The framed wall print with the flirty phrase caught my eye at Hobby Lobby during a 50% off wall decor sale. The print and another piece I used on the shelf were 2 for $15! The art is accompanied by two faux potted plants you might have seen on my social media before. I love the bright white “pots” and how lifelike they appear. And $5 apiece ain’t too shabby either!
Middle Shelves
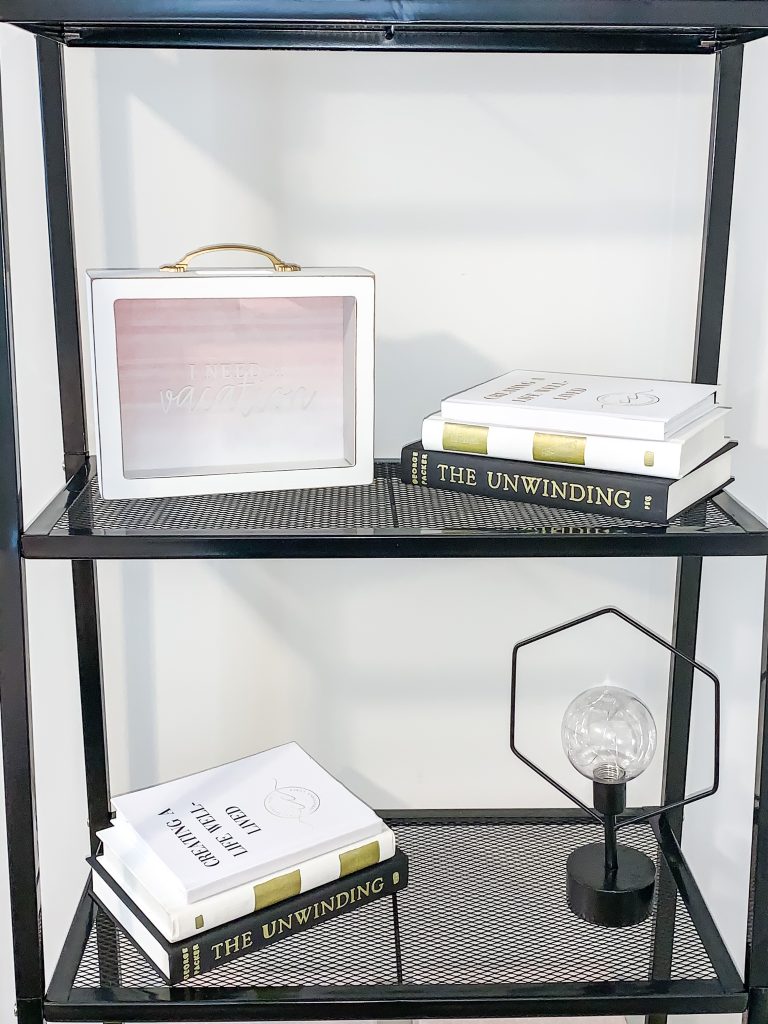
For the middle shelves, I created a mirror effect. The vacation piggy box (is that a thing?) was also a steal from Hobby Lobby, and the industrial lamp was purchased at Five Below. It originally had a gray base, but that was nothing a little acrylic paint couldn’t fix. On the diagonal, I stacked a few hardcover books I purchased from the Dollar Tree. I simply took the jackets off to reveal the black and white covers. And because I’m extra, I used a metallic marker to make gold accents on the books as well as printed new “covers” for the smaller books on sticker paper. That part is totally optional.
Bottom Shelf
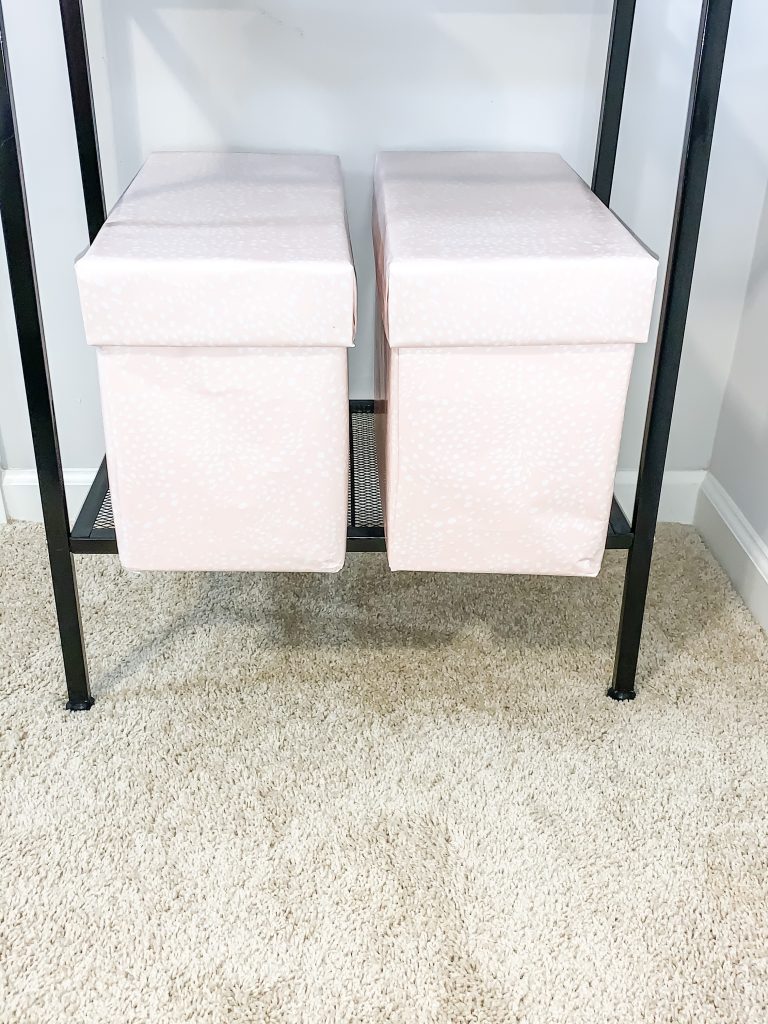
I wanted to reserve the bottom shelf for storage, and I wanted to maximize all the space given. It was hard to find boxes to do so. I ended up buying special boxes designed for comic books that filled up most of the empty space. And even better, they were only $4 each at my local comic book store! They were originally white, but I found cute patterned wrapping paper at Target to add a pop of color to the shelf. I use these boxes for my candles, paperback books, and other odds and ends to keep them out of sight.
Reading Bench
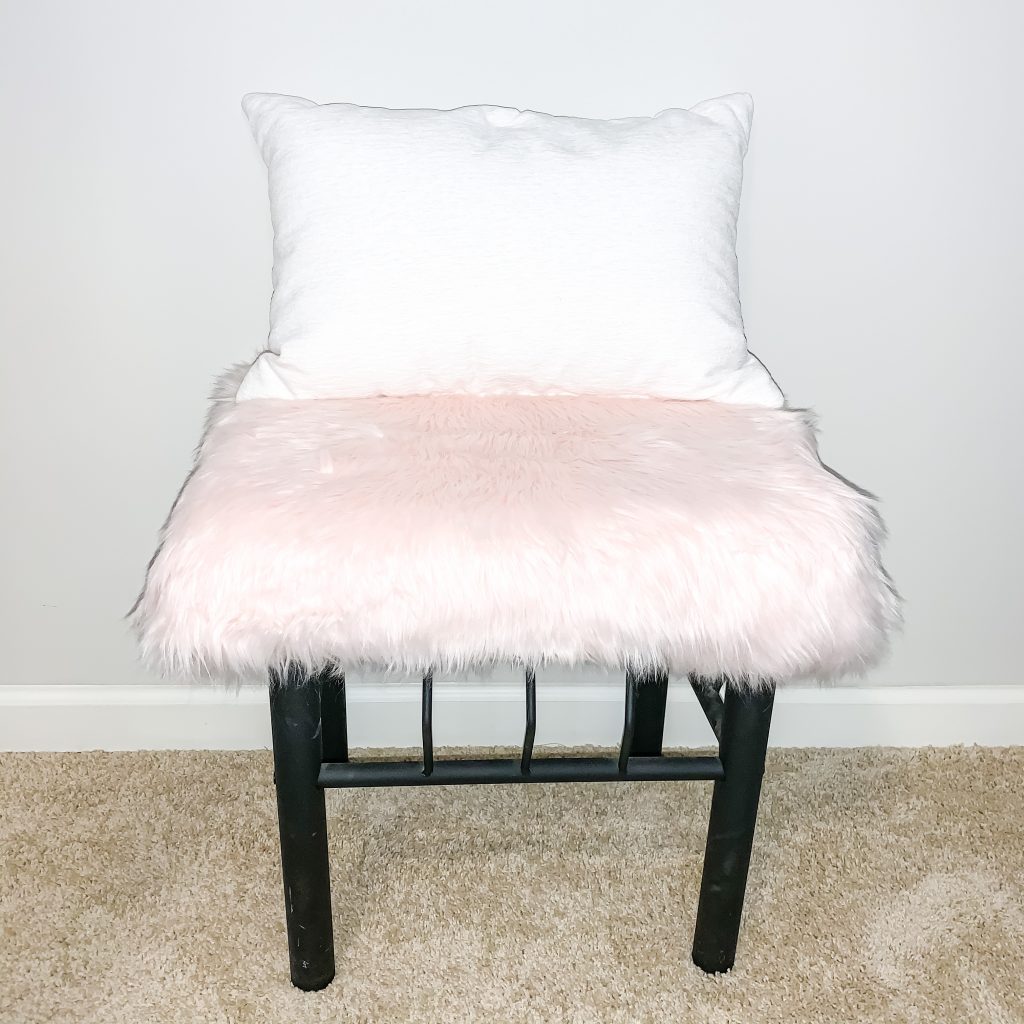
For the final portion of the room redesign, I tackled another DIY project! To make the nook a welcoming place to relax and read, I needed a seating solution. So I re-padded, re-upholstered, and re-secured the seat of my vanity stool to create a comfy reading bench! It’s so much more comfortable than before, and it ties perfectly into the color scheme of the room. Want to see how I made it happen? (Hint- it involves NO sewing whatsoever!) I’m uploading the tutorial to my Freebie Hub soon! (Don’t have the password? No problem! Subscribe in the tab above to get the deets!)
The Final Look
I hope this has inspired you to create your own signature space in your home- on a budget, of course! Until next time!
Cozily,

